Introduction: The Cinematic Universe in a Single Frame
Creating compelling cinematic AI storytelling often feels like a frustrating battle against inconsistency. After 200+ generations, you get a perfect character, only to lose them in the next shot. You have a scene in your mind, but the AI renders something flat and uninspired. This struggle to achieve cinematic quality and maintain character consistency is a common roadblock for creators.
What if the solution wasn’t to generate more, but to start with less? A transformative approach suggests that a single, meticulously crafted “foundation image” can serve as the master key, unlocking a universe of camera angles, movements, and emotional depth. This method shifts the focus from wrestling with the AI to directing it with precision. This post will share five of the most impactful takeaways from this process, revealing how to move beyond simple generation to become a true AI-driven director.
1. Your Real Bottleneck in Cinematic AI Storytelling Isn’t Creativity

Many creators have a clear vision for a scene. They can picture the emotional weight, the power dynamics, and the flow of the story. The breakdown happens when trying to translate that internal vision into a prompt the AI can understand. The primary barrier isn’t a lack of creative ideas, but a lack of the correct cinematic terminology.
You might want a shot that makes a character feel small and vulnerable, but not know to ask for a “high angle wide shot.” This gap between intent and instruction is where most projects lose their potential for cinematic AI storytelling. As creator Yannis Ashay discovered through his own process:
I realized that people are bad with AI filmmaking not because they don’t really know what to do but because they don’t know which tool to use and how to call them.
To solve this, he built a director’s vocabulary in the form of a comprehensive camera prompt library with more than 30 angles and camera movements. It provides the exact prompts for various shots and, more importantly, explains the emotional context for each one. He offers this resource completely free—no email or anything required—to bridge the gap between what you want to feel and what you need to type.
2. Camera Distance in Cinematic AI Storytelling Dials Emotion

One of the simplest and most powerful ways to control a story’s emotional tone is by adjusting the camera’s distance from your character. How close or far the viewer is from the subject directly manipulates their connection and the intensity of the scene. The closer you get, the more you feel what the character is feeling; it’s like the camera is entering into their emotional space.
Here is a simple framework for using distance to guide the audience’s feelings in cinematic AI storytelling:
- Eye-Level Close-Up: This is your neutral starting point. With the camera at eye level and close enough to see the face clearly, you establish a direct connection. It’s ideal for dialogue, reactions, and neutral conversation.
- Extreme Close-Up: To amplify emotion, move in closer. Filling the frame with the character’s face makes them feel more vulnerable and exposed. Every micro-expression is visible, forcing the audience to experience the character’s feelings deeply.
- Macro Shot: Pushing in even further to focus on a single feature—like an eye or a hand—creates intense suspense and anticipation. This technique isolates a detail that tells a crucial part of the story, making the audience hold their breath.
- Wide Shot (Full Body): Pulling back to show the character from head to toe establishes context. This shot reveals their full outfit, posture, and relationship to the surrounding environment. It places the character within their world.
By mastering these distances, you can create powerful emotional arcs. Cutting directly from a wide shot to a macro shot, for example, can create an “incredible dramatic tension” that immediately captivates the viewer.
3. Layer Angles for Better Cinematic AI Storytelling Dynamics

While camera distance dials in emotion, camera angle controls the power dynamics between the character and the audience. By simply changing the vertical position of the camera, you can make a character seem dominant, weak, or equal.
The three basic angles and their effects are:
- High Angle Shot: Looking down on the character makes them appear weak, vulnerable, or intimidated. The viewer is placed in a dominant, imposing position.
- Low Angle Shot: Looking up at the character makes them appear powerful, heroic, or intimidating. They are in control, and the audience feels smaller in their presence.
- Eye Level Shot: This creates a neutral, equal relationship. It’s the default for everyday moments and dialogue where no specific power dynamic is intended.
The real secret to advanced control is layering these angles with the distance shots from the previous point. Combining angle and distance allows for nuanced and potent cinematic AI storytelling. Creating a low angle close-up communicates intimate power, while a low angle wide shot conveys heroic scale. This simple layering technique is a powerful tool that, as the source material notes, “will hit different.”
4. The Storyboard Generator Hack for Cinematic AI Storytelling

Instead of generating shots one by one, a powerful hack can produce a variety of options in a single step. By using a specific prompt structure, you can command the AI to generate a grid of nine distinct panels, each showing a different storytelling angle of the same character.
This technique is a massive time-saver for several reasons. It functions as an instant storyboard, laying out multiple cinematic options at once. It helps you visualize a sequence and maintain a degree of character consistency across different shots. Most importantly, it can generate surprising angles you might not have considered, acting as a creative partner that expands your directorial vision.
However, it’s important to approach this with a realistic expectation. Character consistency is not always perfect. The source creator provides a powerful example: an incredible shot is generated, but the character is missing her distinct facial tattoo. As he notes, “which is a shame cuz that’s a great image but I cannot use it.” Despite these occasional flaws, the usable results often provide more than enough material to build a compelling scene.
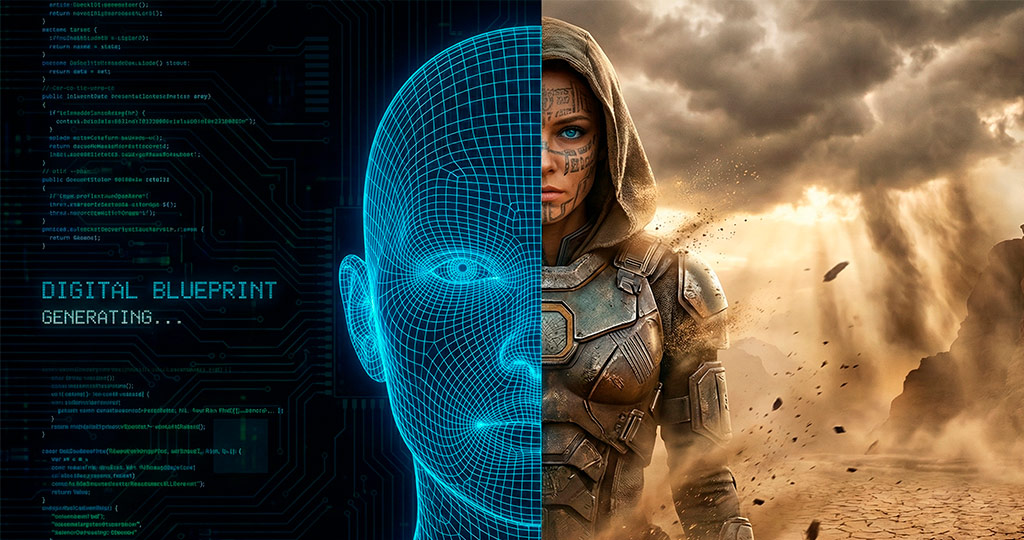
5. Foundation Images: The Core of Cinematic AI Storytelling

All the advanced techniques for camera distance, angle, and movement are only as effective as the image they are built upon. The most critical step in the entire workflow of cinematic AI storytelling is creating the initial “foundation image” or “master shot.”
This single image defines everything that follows: the character, the aesthetic, the lighting, the clothing. The creator’s own journey shows this in action. He started with a simple prompt for a “man inspired from the Dune Universe” using free tools like Gemini and Leonardo AI. The results were okay, but not quite right. He iterated, aiming for something more sci-fi with a shaved head and blue eyes. The results “were not that bad but they were missing the real sci-fi element.” Finally, using paid tools like Hexfield and Midjourney, he arrived at the final character—with her distinct tattoo and glowing blue eyes—that became the anchor for the entire project.
The entire process can be summarized in a clear, seven-step workflow that starts and ends with this principle:
- Create the perfect foundation image. Everything flows from this.
- Understand the desired emotion and find the right prompt for it.
- Generate angles, either one-by-one or using the 9-angle hack.
- Choose the best angles that serve your story.
- Upscale your chosen images to 4K. Most generators output at a lower resolution, and you need a crisp 4K image for high-quality video. Tools like Topaz are essential for this step.
- Transform the chosen images into video clips.
- Edit the sequence together to create your final scene.
Conclusion: From Prompting to Directing
Mastering AI filmmaking is evolving. It’s becoming less about technical wizardry and more about understanding the fundamental language of cinema. By learning how to speak to the AI in terms of camera shots, angles, and movements, you shift your role from a passive prompter to an active director. The tools are no longer a black box but a virtual crew ready to execute your vision.
The barrier to entry for creating visually stunning, emotionally resonant scenes is lower than ever. Now that a single image can be the seed for an entire cinematic AI storytelling sequence, what stories will you choose to tell?
SOURCE: Nano Banana Pro Camera Control: One Image, Infinite Angles (Complete Guide), Yannis Ashay
PROMPTS: Get Prompts in the description of the video on Youtube.
Tools & Resources Mentioned
– Higgsfield: https://higgsfield.ai/
– Free Upscaler: https://imgupscaler.com/