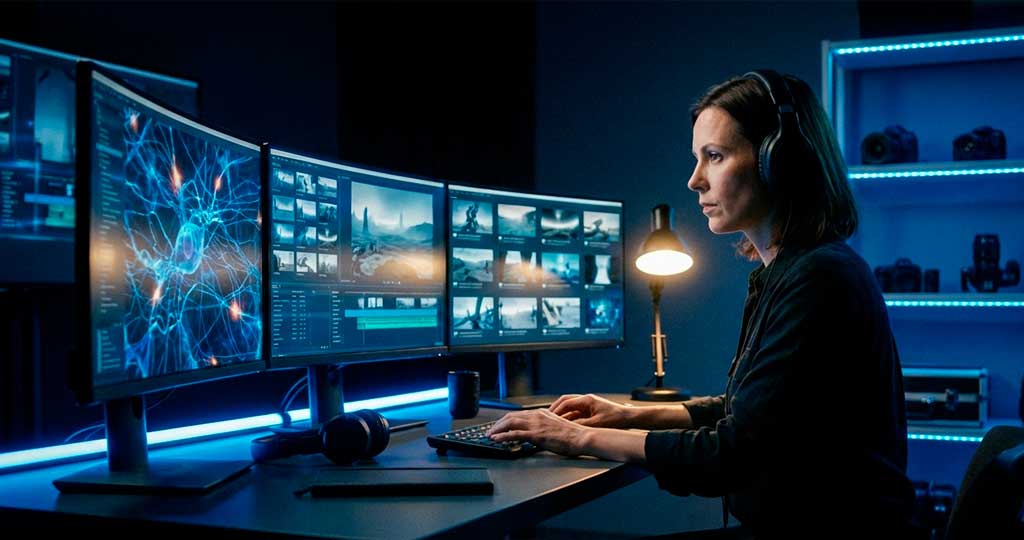
The “uncanny valley” is the graveyard of most AI filmmaking projects. We’ve all seen the symptoms: the “floaty” movements, temporal artifacts, and sudden character morphing that occurs when the model loses track of the latent space. To the casual user, it looks like a glitch; to a Senior Creative Technologist, it’s a sign that the creator is still using “training wheels” workflows. The magic isn’t in a single, complex prompt—it’s in the technical “hacker” pipelines that treat AI as a visual effects department rather than a magic wand. If you want to move beyond jittery generations and into intentional, cinematic AI filmmaking, you have to stop asking the AI to “make a movie” and start directing it through specific, post-production-inspired workflows.
Takeaway 1: Stop Prompting, Start Storyboarding for Consistent AI Filmmaking

Maintaining character consistency across shots is the hardest problem in AI filmmaking. If you generate shots individually, the “seed” changes, and suddenly your protagonist’s tattoos or eye color begin to morph. The pro-level workaround, popularized by Yannis Ashay, is the 9-Angle Hack. By prompting for a grid of nine different storytelling angles in a single generation, you force the AI to process the character within a single latent space.
This method uses a “Foundation Image”—a master shot that locks in the character’s DNA, the environment’s “Dune-inspired” aesthetics, and the lighting. While free tools like Google Gemini or Leonardo AI are good for testing, pro tools like Higgsfield and Nano Banana Pro allow you to extract these panels as a high-fidelity storyboard. To master this, categorize your grids into three shot types:
- Distance Shots: Using Eye Level Close-ups for emotional connection or Wide Shots to establish the context of the character within their world.
- Angle Shots: Manipulating power dynamics with High Angles to show vulnerability or Low Angles to create a heroic, intimidating presence.
- Creative Perspective Shots: Implementing Over-the-Shoulder views for shared viewpoints, Profile shots for thoughtful moments, or Dutch Angles to signal psychological instability.
“The Foundation Image will define everything: your character, your style, the aesthetic, the lighting, the clothing. You need to get it right.” — Yannis Ashay
Takeaway 2: The “AI Sandwich” – AI Filmmaking with Real Footage

The most effective use of AI isn’t creating a 100% synthetic film; it’s the “AI Sandwich.” Tyler Stalman’s workflow uses AI as the “filling” between two pieces of real-world footage, enabling impossible VFX transitions (like a camera flying through a window) without a Hollywood budget.
This requires two counter-intuitive technical steps. First, you must color grade up front. Unlike traditional pipelines where grading is the final step, you must apply your LUTs (like Apple Log 2 transforms) to the real footage before exporting the “bookend” frames (Clip 1 last frame / Clip 2 first frame). Second, your AI filmmaking prompt must identify the vector of movement to match the physical camera. For example: “The camera flies quickly forward… keep the camera speed constant through the whole shot.”
By forcing a constant speed in the prompt, you retain control in the edit. You can then apply a speed ramp (up to 400%) and use RSMB (ReelSmart Motion Blur)—the industry-standard plugin—to hide the “pops” and artifacts that occur during the transition.
“There is no limit to the transitions you can make… I’m not modifying the main structure of the storytelling; I’m just adding in specific elements that I could not create on my own.” — Tyler Stalman
Takeaway 3: The 2×2 Grid Method for Cinematic AI Filmmaking Continuity
For action-heavy sequences like fight scenes, Jack Vs. AI and PJ Ace use the 2×2 Grid Method. This involves generating four storyboard panels in a single 4K generation to ensure the lighting, textures, and “cinematic rhythm” remain consistent across the sequence.
The “pro” secret here isn’t just upscaling the cropped images; it’s using the Refinement Prompt. When you crop into a 4K grid, you lose visual fidelity and textures go “wonky.” When running these through Nano Banana Pro for an upscale, don’t just ask for sharpness—use the step to correct composition errors. If a character’s scale is wrong, use a prompt like: “Preserve the exact composition… only alter the below: make the warrior half the size he is now.” This allows you to fix scale continuity issues that would otherwise ruin the edit.
Takeaway 4: Speak “Cinematographer” to Master AI Filmmaking
Generic terms like “cinematic lighting” are useless. Professional tools like Nano Banana Pro offer a library of 43 specific camera bodies (such as the Arri Alexa or Red V-Raptor), specific focal lengths (50mm for neutral dialogue vs. wide-angle for distortion), and precise lighting styles. To get pro results in AI filmmaking, you must replace descriptive fluff with technical cinematography language.
| Generic Prompt | Cinematic AI Prompt | Resulting Impact |
| “A man looking at the camera” | “Arri Alexa, 50mm lens, Eye-level close-up, Studio lighting” | Establishes a high-end, intimate dialogue connection. |
| “A tilted, scary shot” | “Dutch angle, Low-key lighting, wide-angle lens” | Creates immediate psychological tension and instability. |
| “A high view looking down” | “Bird’s eye view, Arri Alexa, 45-degree isometric camera” | Emphasizes vast scale and a “god-like” perspective. |
| “A shaky action shot” | “Ultra frantic handheld, Red V-Raptor, aggressive micro-jitter” | Conveys chaos and documentary-style realism. |
Free Notion Prompt Library by Yannis Ashay
Takeaway 5: The “HBO Secret” to Hollywood Sound

Visuals only sell half the story; sound design is the “secret sauce” for cinematic realism. Story Slice reveals the “HBO Secret”: swapping the DNA of a song. By using “stems” (isolated vocal and instrumental layers), you can take a vocal track and layer it over a completely different drone or instrumental to create a custom remix without a composer.
A counter-intuitive hack for sound design is using AI video models like V3 solely for audio. Even if you discard the generated video, you can extract the synced-up sound effects that the model “baked” into the clip. Use timeline markers (M-keying) to align these five essential sounds:
- Hit: Accentuates a beat or sudden movement (e.g., a “killing blow”).
- Suckback: A reverse-sound used to build anticipation leading into a hit.
- Whoosh: A smooth transition sound used to bridge two movement vectors.
- Riser: A long buildup used to increase tension toward a climax.
- Drone: Low-frequency atmospheric sound used to set the underlying mood.
The Shift from AI User to AI Director
We are no longer in the era of “prompting for luck.” With models like Cling 2.6 and VO 3.1, the technology has become effectively infinite. The primary bottleneck is no longer the AI’s capability, but the creator’s knowledge of choreography, staging, and rhythm.
In a world where anyone can generate a 4K frame, the value moves to those who understand the “language of the lens.” The future of film doesn’t belong to the person who can write the most complex code, but to the person who can direct the latent space with the precision of a master cinematographer. The question is: Are you just a user of the tool, or are you ready to start directing your next AI filmmaking masterpiece?
SOURCES:
- Nano Banana Pro Camera Control: One Image, Infinite Angles (Complete Guide)
- I Built the AI Cinematography Tool I Wish Existed
- The NEW Way to Create Cinematic Films with AI (2×2 Grid Method)
- How I Create Viral AI Videos with Nano Banana Pro & Hailuo AI in 2026
- How I Connect Real Footage With AI Transitions
- How to Edit Music in Trailers Like HBO

