
Smart Object are sometimes used for image place holders within a Photoshop template. Smart Objects are layers that contain image data from raster or vector images, such as Photoshop or Illustrator files. Smart Objects preserve an image’s source content with all its original characteristics, enabling you to perform nondestructive editing to the layer. That’s a mouth full for those not familiar with Photoshop, but simply put, a Smart Objects holds a Photo or Vector Image in a container, allowing you to make nondestructive edit.
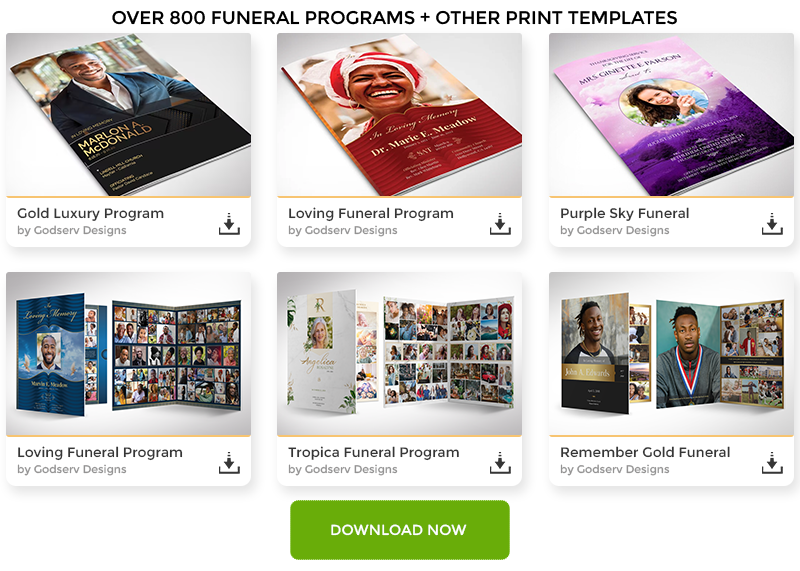
The Smart Object technique for Photo place holders within a template is very ideal. This tutorial will show you how to insert a Photo into a Smart Object that is contained in a template. In this case, it will be a Funeral Program Template by Godserv Designs.

Template Used
Dignity Funeral Program Photoshop Template
Photo Used for Smart Object
Courtesy of Gene Gerber, Unsplash.com
Application Requirement
How to Insert a Photo into a Photoshop Smart Object
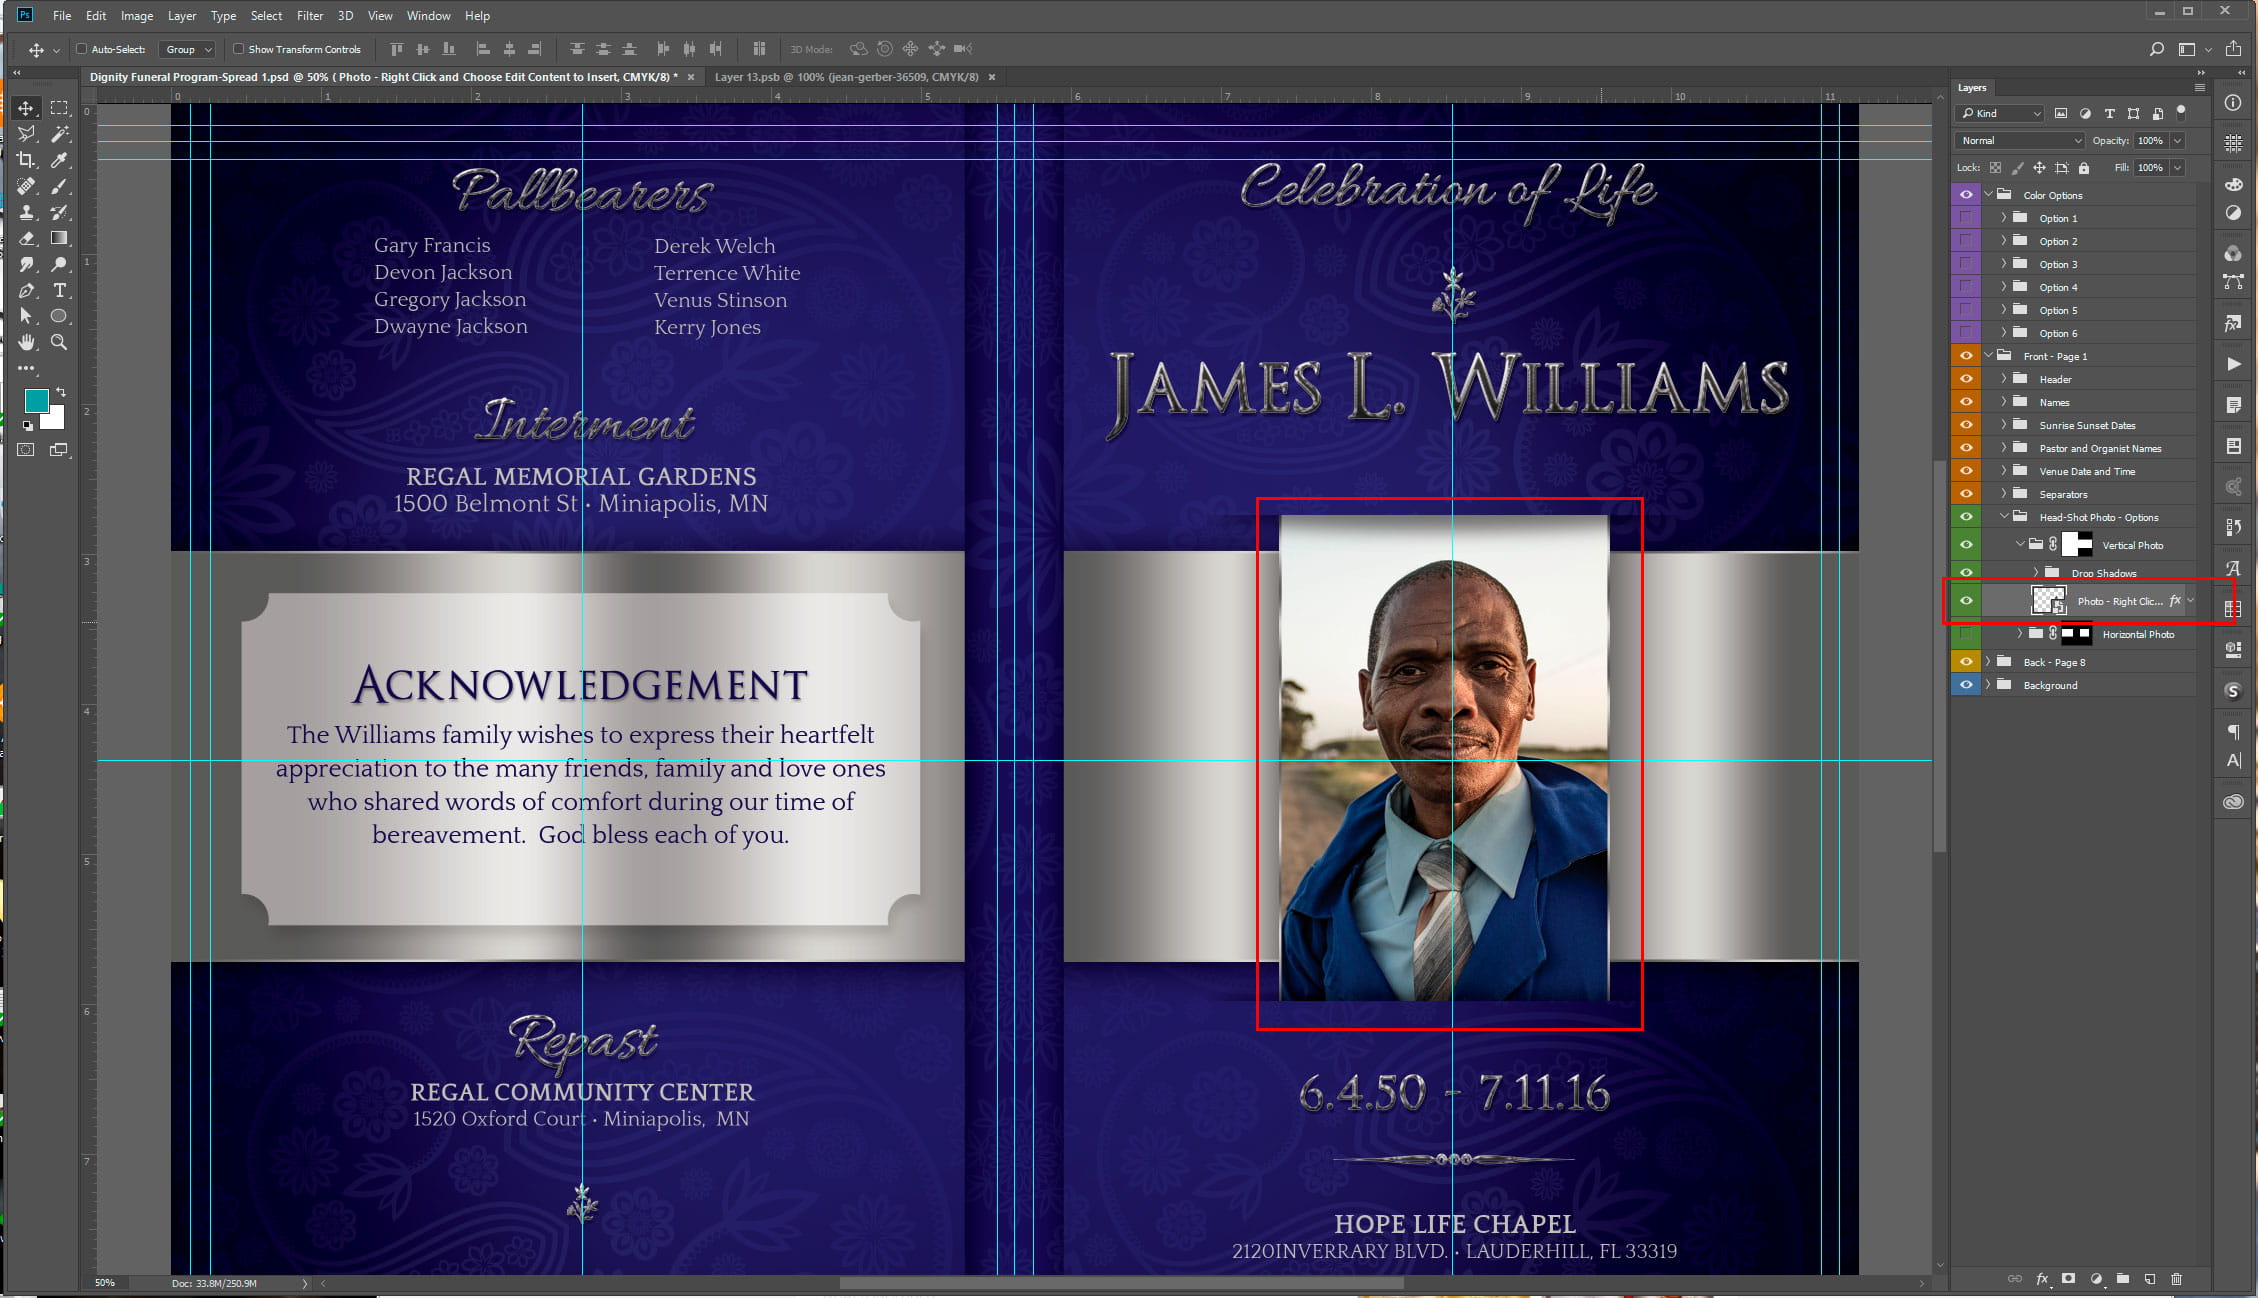
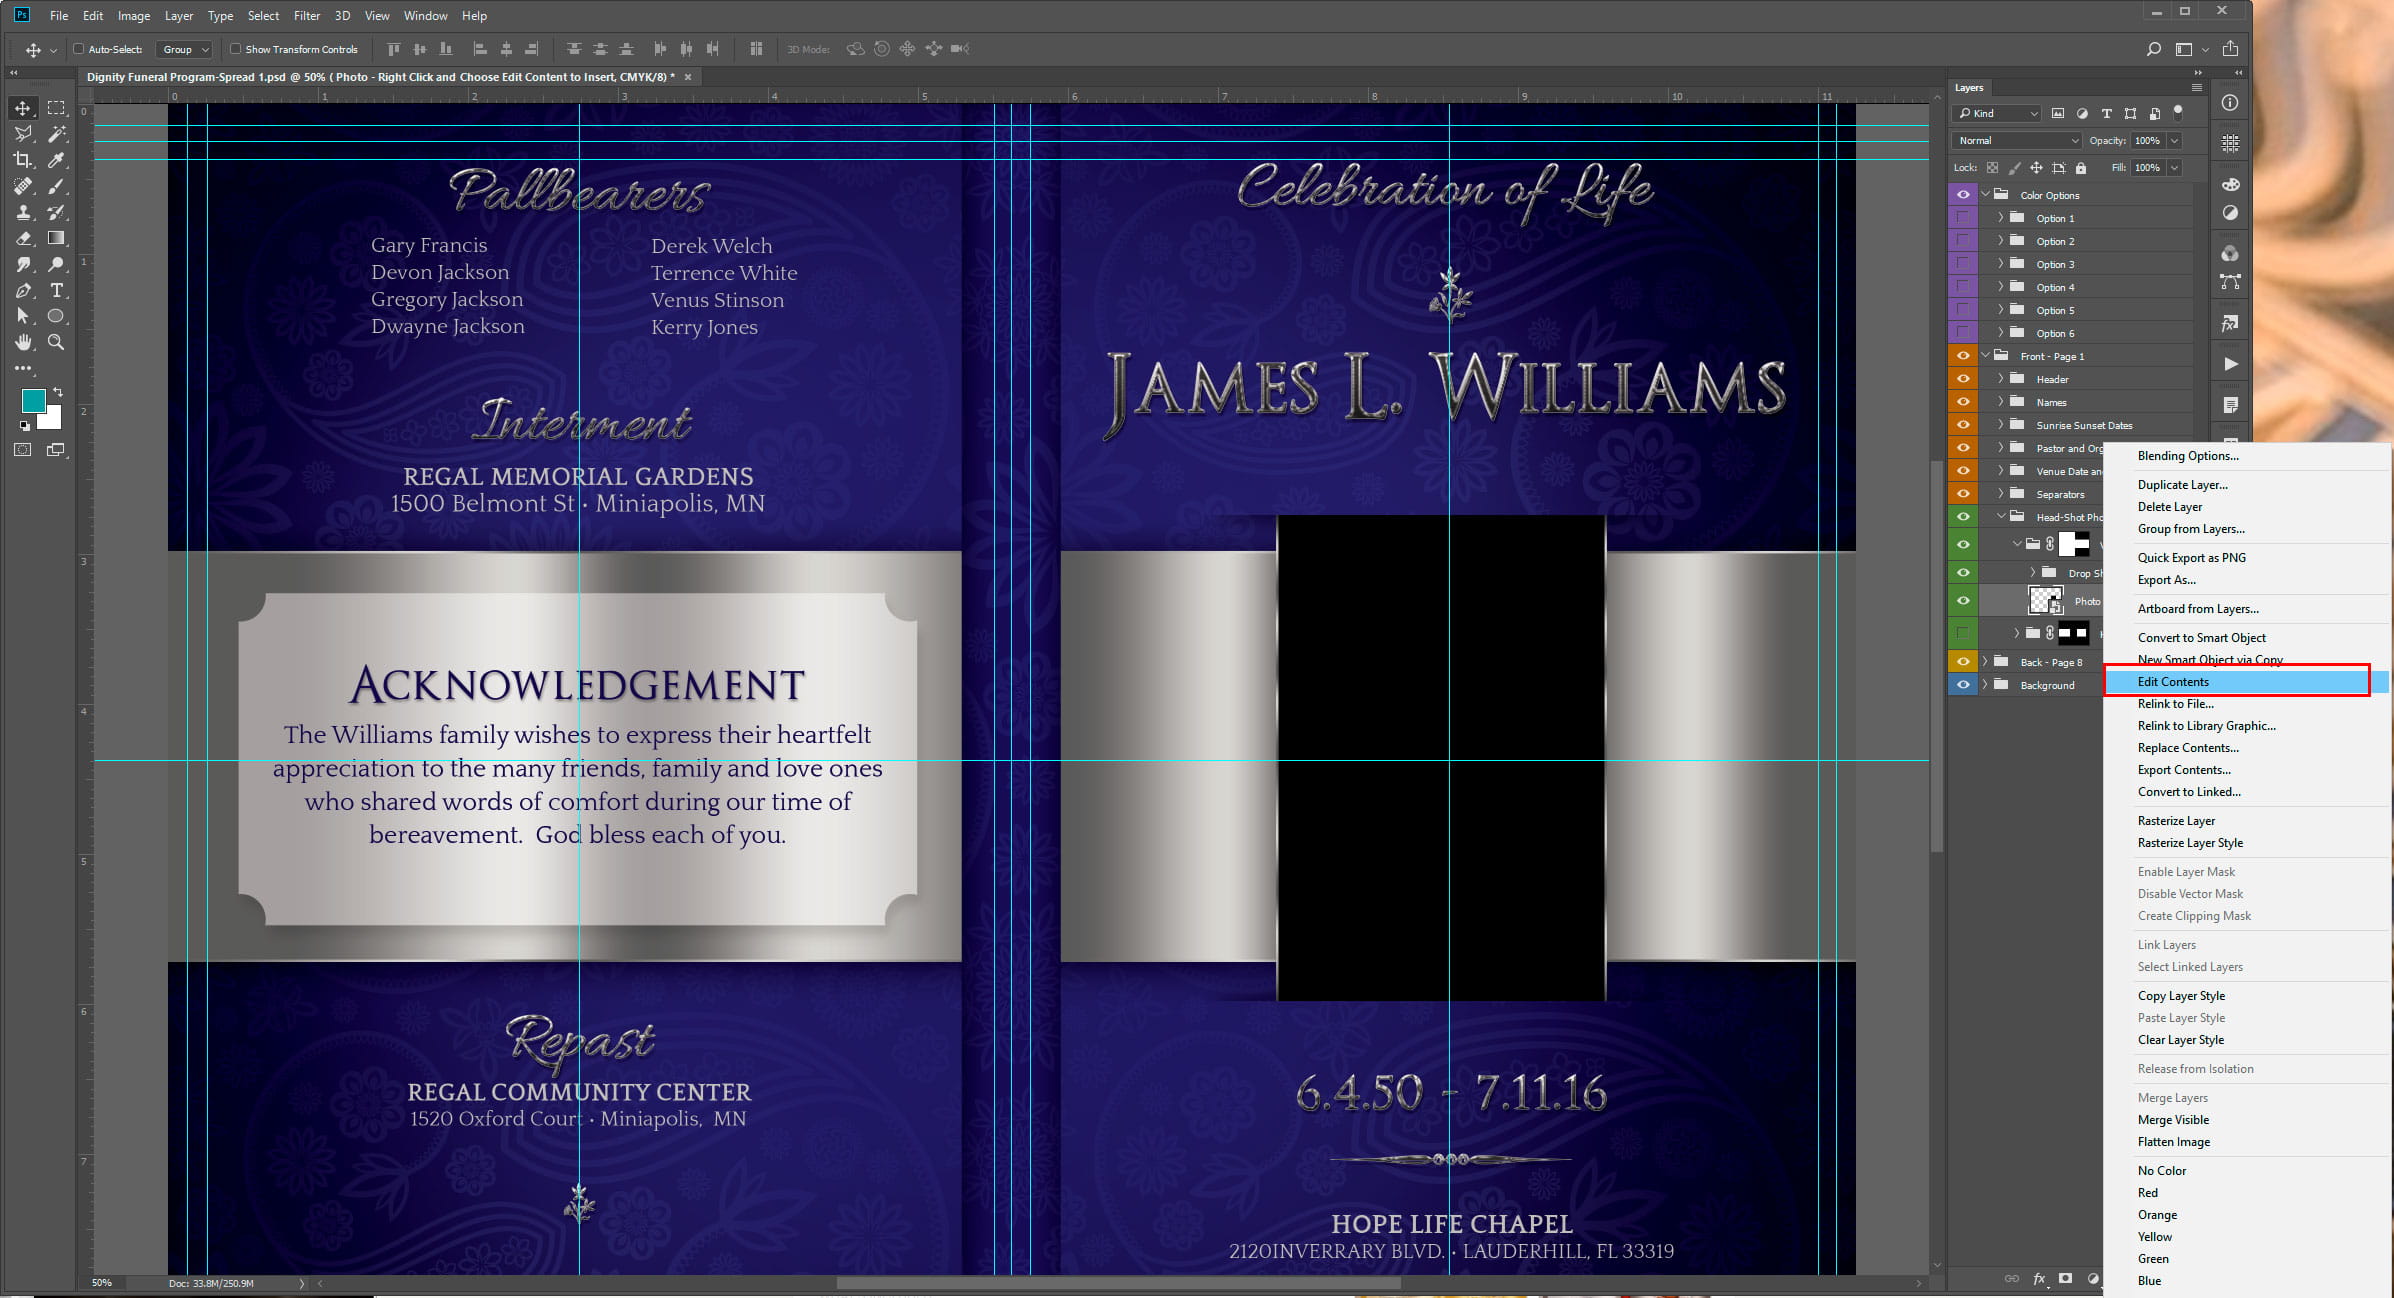
After opening the template in Adobe Photoshop, open your layer palette ( Window > Layers). Find the Photo Smart Object Layer and Click on it. In this case the Photo Smart Object layer is named Photo and is Color Coded with the color Green. The Smart Object currently contains a Solid Black Rectangle within it and therefore the photo box on the Cover shows black. We will be replacing that black rectangle with a Photo.

To open the Smart Object Window, Right Click the Layer and choose “Edit Content” A Window will open showing the layer containing the Black rectangle.
This is the Smart Object Layer (New Tab) that opened. notice the layer containing the Black rectangle and the Photoshop canvas.

There are 2 way to embed a Photo into the Smart Object window:
- Drag your image from the desktop into the Smart Object window
- Go File > “Place Embedded” to Browse, Select and Place the Photo. (We will be using this method)

After selecting “Place Embedded” from the menu, a browser window will open for you to browse and choose the photo from your computer. In this case, the photo is on my desktop. Click the “Place” button after selecting the photo. This will insert it into the Smart Object layer and create a layer for it in the layers palette.

Notice the new layer created for the Photo in the Layers palette and now the canvas shows the photo also. If the Photo you placed is smaller or larger than the canvas area, you must resize it to fit.
How to Resize the Photo
Select the Photo layer in the Layers palette and Go > Edit Transform > Scale. (or Crtl+T) Use the Control Handles (while holding the shift key) to resize the image and hit “Enter” on the keyboard when done.
Save the document when satisfied with how the image is placed within it. The template photo placeholder will now be updated with your photo.

This is the template document, now updated with the photo. You can always open the Smart Object again to make adjustment to the photo placement or enter a new photo.
Now that you have learned how to insert a photo into this type of template, you should be able to edit other templates that uses Smart Objects to hold a photo or any other object.
Check out these tutorials for more guides on editing templates